Exclude your own visits
Exclude your own device visits from your analytics to get accurate visitor data and focus on genuine website visitors.
Step 1: Access Device Exclusion Settings
- Go to your dashboard and select the website you wish to exclude your own visits from
- Click on the dropdown menu for your website in the top left of your dashboard
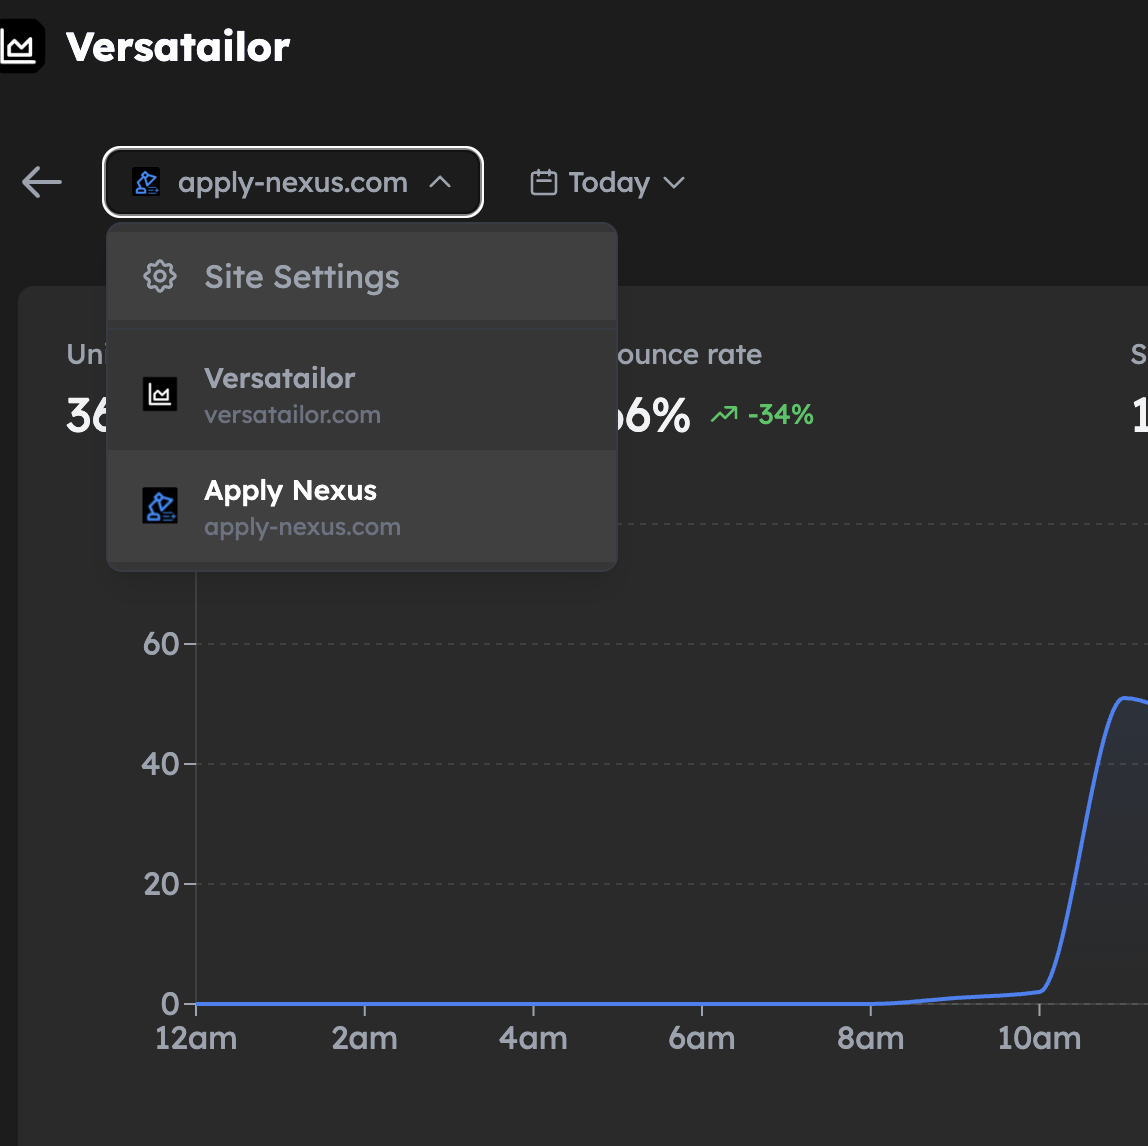
- Click on "Site Settings"
- Under "Filter" tab, find the "Device Exclusion" section
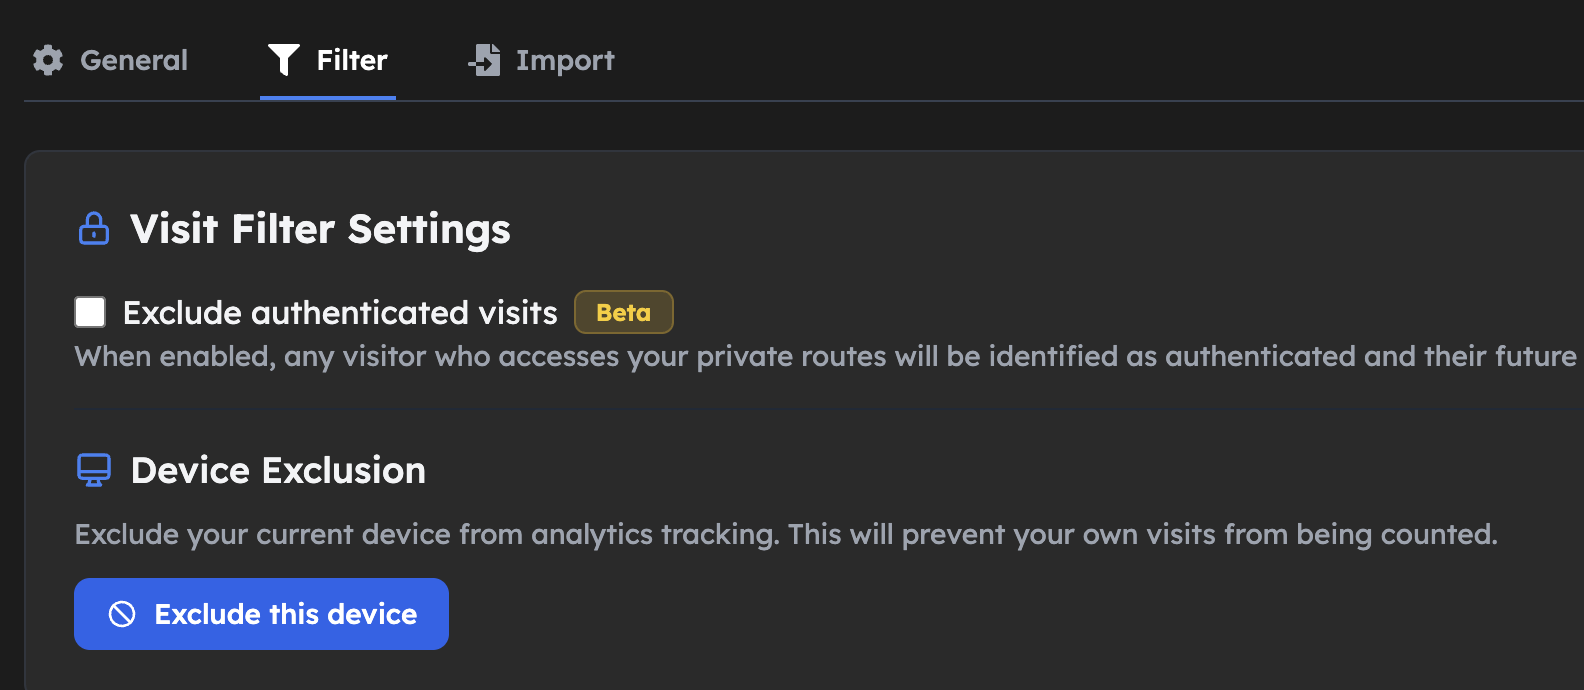
- Click the "Exclude this device" button
How It Works
Your device's information is stored locally. Future visits from this device won't be counted in your analytics.
Managing Device Exclusion
- You can undo this at any time by clicking the "Undo" button
- Device exclusion is browser-specific
- Each website has its own device exclusion list
Important Notes
Note:
- Device exclusion is browser-specific
- Clearing browser data will reset device exclusion
- Each website has its own device exclusion list
Best Practices
- Test on different devices: Exclude your visits from all devices you use for testing
- Include team members: Have your team members exclude their own visits too
- Regular cleanup: Periodically review and update your exclusion list
- Monitor results: Check your analytics to ensure the filtering is working correctly
Troubleshooting
Own visits still appearing
If your own visits are still showing up:
- Check that you've clicked "Exclude this device" for each browser you use
- Verify that you're using the same browser and device
- Clear browser data and try again
- Make sure you're on the correct website
Too many visits being excluded
If legitimate visitors are being excluded:
- Review your device exclusion list
- Check if team members have excluded their devices
- Verify that exclusion is working as expected
- Test with different devices and browsers
Next Steps
Now that you've configured device exclusion:
Need help? Contact us for assistance.
Suggest features? We'd love your feedback